Create Deployment via PSCS
PSCS is Datacap’s product configuration portal. In order to create deployment IDs, you need to be an authorized Datacap Reseller. After you log-in to PSCS follow the steps below to create a deployment ID.
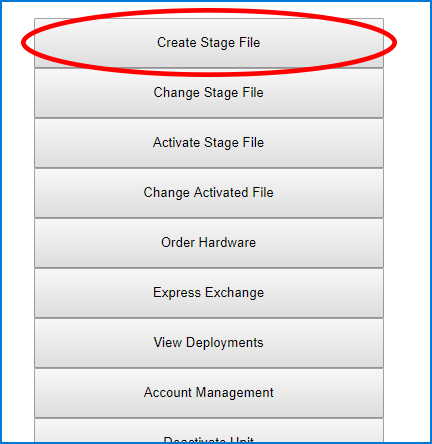
1 Select “Create Stage File”.

2 Select “ePay”.

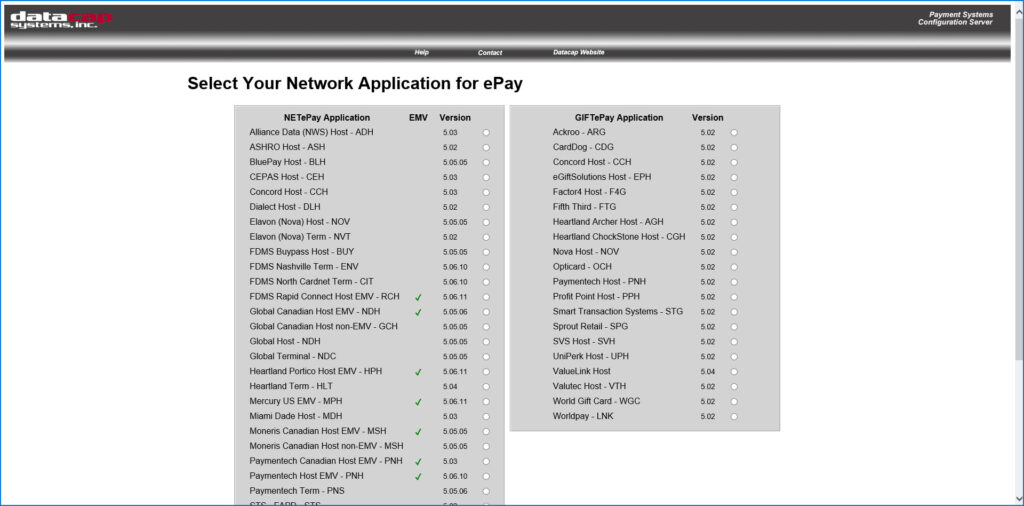
3 Select network application.

4 Input Merchant Information.

5 Save Deployment and Activate NETePay.

6 Review Order Details.

7 Select “Place Order”.

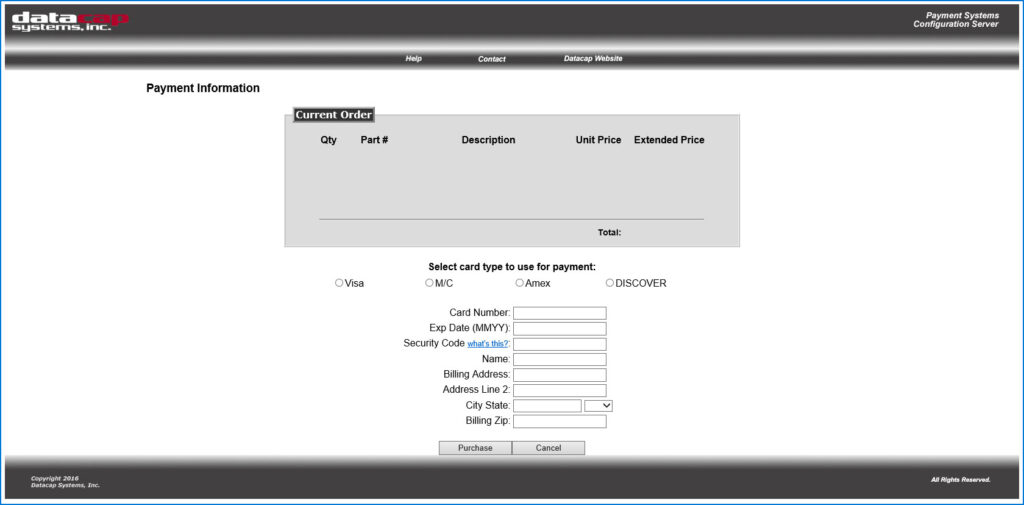
8 For purchased accounts, input your payment information to purchase NETePay.

Download Client
Download Client Control via datacapsystems.com
Download and Configure NETePay
Download NETePay via datacapsystems.com (see NETePay 5 Director)
Use your deployment ID from above to configure NETePay. Once installed, you’ll be prompted for your deployment ID (provided by PSCS above), which then automatically pulls down the corresponding version of NETePay from our download site and runs it as a service on the PC.

Once NETePay (via the Director) is installed, go-forward updates are as simple as logging in to PSCS and making the change. Software updates automatically on site without intervention.
Run a test transaction
Before accepting real transactions, be sure to run test transactions and confirm with your processor that the funds were received successfully.
